When you wrap your headers and downpipes, you’re basically locking the heat inside the pipes. This boosts engine efficiency and helps keep your engine bay cooler.
The best practice for heat wrapping is to start close to the engine, keep the wrap tight with consistent overlap, and secure it well to prevent slipping. That way, exhaust gases stay hotter, which can help performance and protect everything nearby from heat damage.
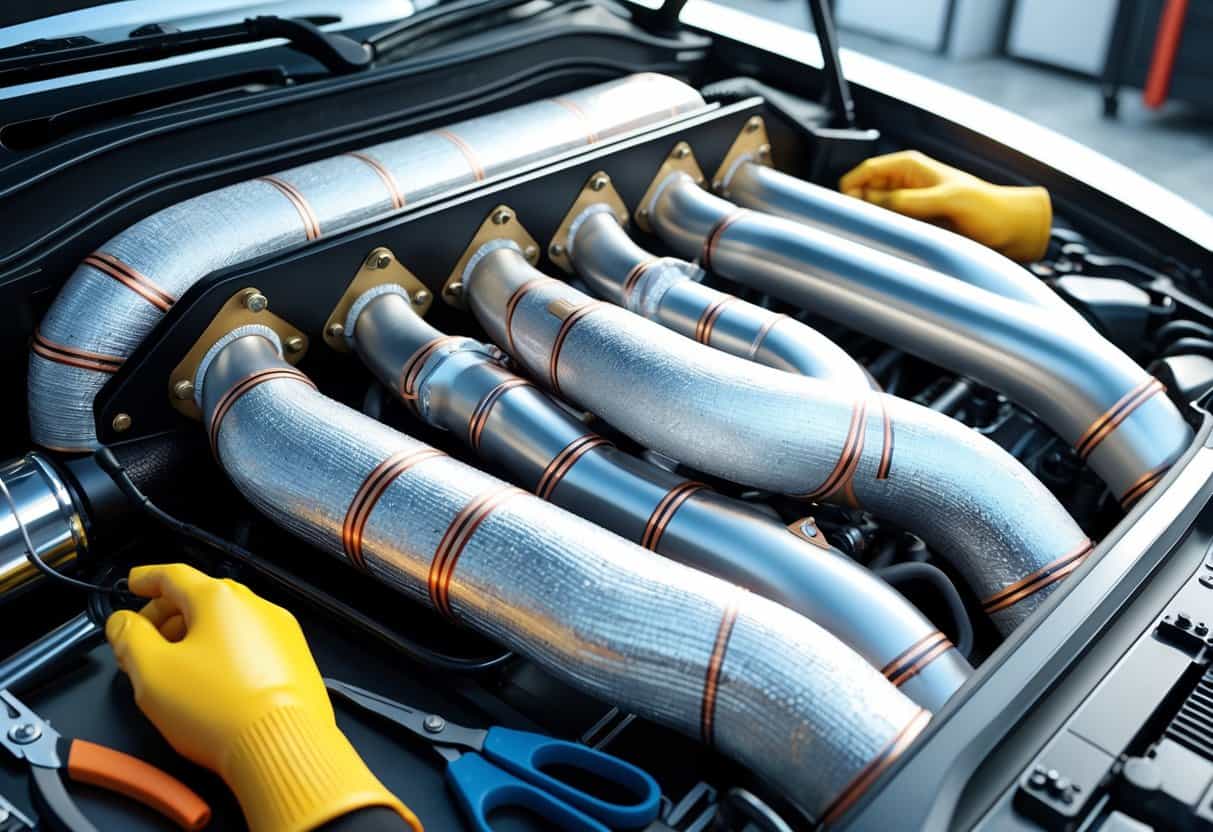
Using the right kind of wrap—and wearing protective gear while you’re at it—matters if you want to avoid burns and get a snug fit. Watch out for sharp edges on the pipes; they can chew up your wrap and make it less effective.
Key Takeways
- Start wrapping near the exhaust port and keep tension on the wrap for best results.
- Use protective gear and avoid sharp edges to prevent damage during installation.
- Regular checks help maintain the wrap’s performance and extend its lifespan.
Understanding Heat Wrapping for Headers and Downpipes
Heat wrapping helps control exhaust component temperatures. This can improve efficiency and keep nearby parts from getting toasted.
Different materials handle heat in their own ways, which affects both performance and safety.
Purpose and Benefits of Heat Wrapping
Mainly, heat wrapping keeps more heat inside the headers and downpipes. That means lower engine bay temps, so sensitive parts, wiring, and hoses are less likely to get cooked.
By holding heat in, exhaust gases move faster and the scavenging process works better. That can mean a little more power and efficiency.
You also get safer under-hood temperatures, which can help reliability. But if you don’t install wraps properly, they might trap moisture and lead to rust or corrosion down the line.
Types of Heat Wrap Materials
There are a few main types of exhaust heat wrap: fiberglass, basalt (lava rock), and ceramic blends.
- Fiberglass: Super common and affordable, but not the toughest—can break down sooner.
- Basalt: Made from volcanic rock, so it’s more heat-resistant and pretty sturdy.
- Ceramic blends: These mixes usually handle heat and moisture really well, but they’re pricier.
Each material has its own strengths and quirks. Pick one that matches your vehicle’s heat output and the conditions you drive in.
How Heat Retention Impacts Performance
When you keep heat inside headers and downpipes, exhaust gas temps go up. That means gases move faster and get out of the system quicker.
Faster exhaust flow helps the engine breathe and can boost power and throttle response. It’s a nice perk.
But if you trap too much heat, pipes can get damaged. The wrap also slows down heat transfer to nearby parts, so you get less heat soak.
It’s all about finding a balance between heat retention and protecting your setup.
Selecting the Right Heat Wrap for Your Application
Picking the right heat wrap depends on a few things: heat resistance, material, durability, and how easy the stuff is to work with. You’ll want to think about installation and upkeep for your specific engine, too.
Key Factors for Choosing Heat Wraps
First up, make sure your wrap can handle higher temps than your headers or downpipes generate—usually 1200°F or more. Thickness matters; thicker wraps hold heat better but can be a pain to install.
Durability’s big. Exhaust heat and weather will wear down wraps, so look for ones that don’t fray easily or soak up too much moisture.
Some wraps are more flexible and easier to fit tight. You might also want to spray on a silicone coating afterward for extra protection.
Fiberglass vs. Other Material Options
Fiberglass is everywhere because it’s flexible, affordable, and handles heat decently. But if it gets wet a lot, it can break down quicker.
Basalt fiber and titanium blends are out there, too. Basalt is tougher and shrugs off higher heat, while titanium wraps last longest and resist stains. Downside? Titanium can be stiff and cost more.
Here’s a quick comparison:
| Material | Heat Resistance | Durability | Installation Ease | Cost |
|---|---|---|---|---|
| Fiberglass | Up to 1200°F | Moderate | Flexible | Low |
| Basalt Fiber | Around 1400°F | High | Moderate | Medium |
| Titanium | Over 1500°F | Very High | Stiff | High |
Pick what fits your heat needs, budget, and how often you want to mess with redoing the wrap.
Step-by-Step Installation Best Practices
Getting a good wrap job means prepping your parts, using the right technique, and making sure everything stays put. A little patience goes a long way here.
Preparing Headers and Downpipes for Wrapping
First, take off anything blocking your headers or downpipes—heat shields, brackets, whatever’s in the way. Clean the pipes really well; oil, rust, and dirt will mess things up.
Make sure the pipes are cool before you start. Soak the wrap in water to make it easier to handle. And crack a window or work outside—those fibers can be nasty to breathe.
Proper Wrapping Techniques
Begin at the flange and make a full loop around the pipe. Keep the wrap tight and overlap it by about 50% each time.
Wrap at a slight angle to cover more area and avoid gaps. Don’t let the wrap get loose, but don’t yank it so hard it rips.
Securing and Finishing the Installation
Once you’re done wrapping, use stainless steel zip ties or wire clamps at both ends. Add more ties every few inches to keep things tight.
Trim any extra wrap. If you took off heat shields or brackets, put them back carefully so you don’t mess up your work.
Let the wrap dry out before firing up the engine. That way, it won’t loosen up right away.
Maintenance and Longevity of Wrapped Headers and Downpipes
Keeping your wrapped headers and downpipes in decent shape means checking them now and then and knowing how to spot issues. A little attention can help your wrap and exhaust last longer.
Routine Inspection and Care
Check your wraps every few thousand miles or after a hard drive. Look for fraying, tears, or spots where the wrap’s coming loose.
If you see damage, you might need to patch or re-wrap those areas. To clean, use a soft brush to get rid of dirt—skip the harsh chemicals or pressure washers, since they’ll just wear out the wrap faster.
Always wear gloves when working with wraps. Fiberglass can be itchy, and gloves keep oils from your hands off the material.
Troubleshooting Common Issues
If your wrap keeps shedding fibers, try soaking it in water with a mild detergent next time you install it. This simple step usually helps reduce fiber loss and makes the wrap hold together a bit better.
Rust is another headache—moisture trapped under the wrap can start trouble. Keep an eye out for rust spots or any flaking metal.
If you spot rust, unwrap that section, clean it up, and treat the metal before you re-wrap. Always use a dry, heat-resistant wrap for the job.
Uneven or too-thick wrapping can lead to hot spots or just plain bad insulation. Try to keep even tension and overlap as you go, though honestly, it takes a little practice to get it right.
