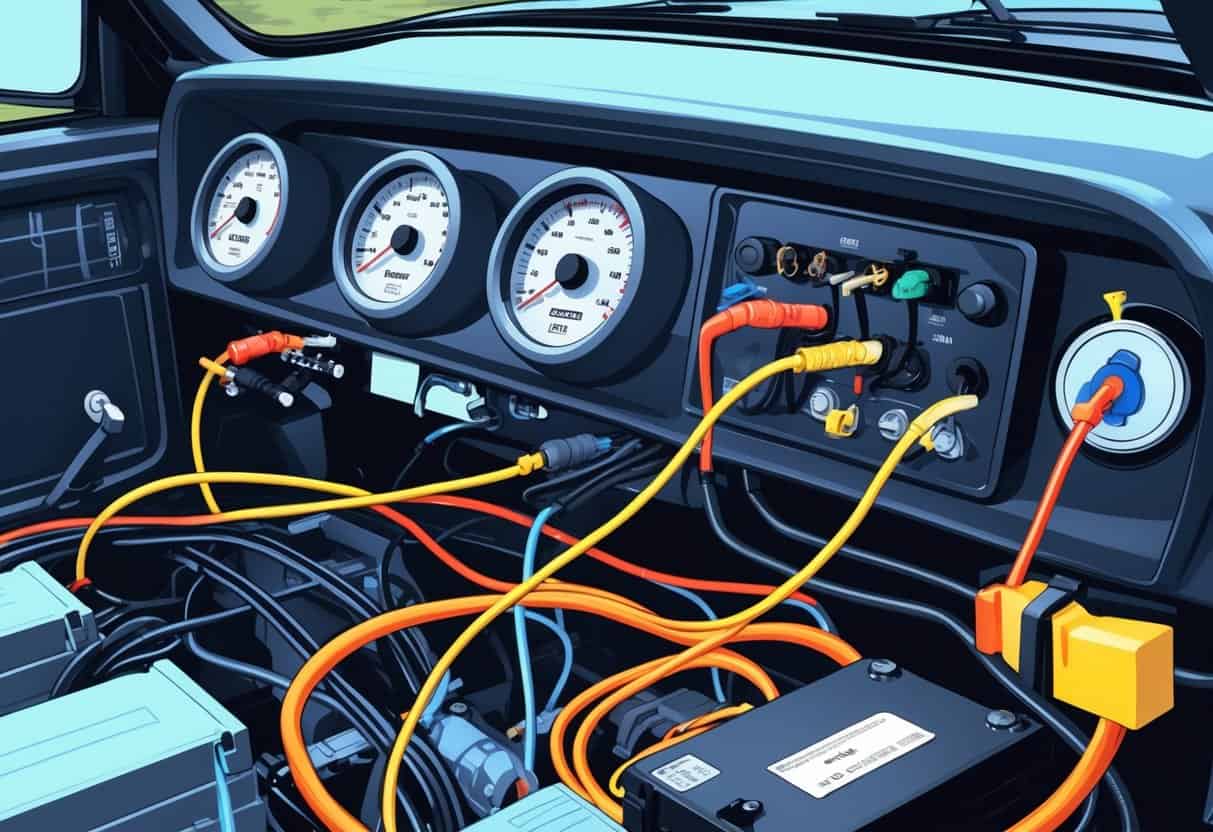
Installing aftermarket gauges can really help you keep an eye on your vehicle’s performance. Wiring them safely and neatly, though—that’s where things can go sideways if you’re not careful.
You’ll want to use solid connections like soldering, plan your wiring path to avoid corrosion or damage, and make sure power flows correctly through relays or distribution blocks. That’s how you keep your setup reliable and clean.
A tidy wiring job means fewer headaches later and a finish that actually looks professional. Organizing wires, using heat shrink, and picking the right power source go a long way toward protecting your system from shorts and failures.
You don’t need a toolbox full of fancy gear. Just stick with good methods and a bit of patience, and you’ll get the job done right.
Key Takeways
- Prep your wiring setup before you start.
- Route wires carefully to dodge damage and corrosion.
- Use solid connections for steady electrical flow.
Preparing for Aftermarket Gauge Wiring
Before you start wiring, take a minute to think about the parts you’ll use, gather your tools, and get familiar with the wiring itself. It’s not glamorous, but it saves you trouble.
Choosing the Right Gauges and Accessories
Pick gauges that fit your car’s needs, like an Autometer fuel or oil pressure gauge. Make sure they come with compatible senders—factory ones usually won’t play nice with aftermarket stuff.
A proper gauge pod keeps your dash tidy and helps protect the wiring. Quality crimp connectors and heat shrink tubing are worth it to avoid corrosion and loose wires.
Wire gauge size matters. Stranded wire with the right thickness prevents voltage drops and overheating. Use wire rated for the current your gauge will pull.
Gathering Essential Tools and Materials
You’ll need basics like wire strippers, crimping pliers, and a multimeter. A soldering iron is nice for stronger connections, but quality crimp connectors can do the trick too.
Grab heat shrink tubing and electrical tape for insulation. If a wiring harness is available, it’ll make things simpler and less messy.
Keep extra stranded wire in different gauges handy. That way, if you need to replace or extend something, you’re ready. Lay out your tools and parts before you start—less scrambling, fewer mistakes.
Reviewing Documentation and Wiring Diagrams
Read the gauge’s instructions and wiring diagrams before you touch a wire. You’ll want to know which wires are for power, ground, signal, and illumination.
Check your car’s factory wiring diagrams to find good power sources and grounding spots. Don’t tap into circuits like the cigarette lighter—they’re not always reliable.
Route wires away from heat and moving parts. Stick a relay and fuse in line with the power wire. That way, if something shorts or overloads, you’re not risking the whole system.
Keep the docs nearby while you work. You’ll probably need them, especially if you add more gauges later.
Planning and Routing Wires Safely
Wiring aftermarket gauges isn’t just about connecting things. You’ve got to pick the right wires, route them smartly, and avoid electrical noise.
Selecting Wire Types and Colors
Go with stranded wire—it’s flexible and less likely to snap when you’re working in tight spaces. Different colors help you keep track: black for ground, red for power, and something else for signal.
Pick wire gauges based on how much current your gauges draw. Thicker wires handle more juice with less resistance. Skip the cheap, thin stuff—it overheats and causes voltage drops.
Quality insulation is a must. It protects against heat and abrasion. Use rubber grommets anywhere wires pass through metal to keep them from getting cut.
Effective Wire Routing and Cable Management
Plan wire paths to keep cables short and direct. Long wires mean more resistance and weaker signals. Use existing harnesses when you can, and add strain relief so wires don’t get yanked loose.
Keep power and signal wires apart to avoid interference. Bundle wires with zip ties or cable sleeves. Avoid sharp bends—gentle curves are easier on the wires.
Going through the firewall or bulkheads? Use rubber grommets to keep metal edges from chewing up your wires.
Mitigating Risks of Electromagnetic Interference
EMI can mess with your gauges. Keep sensor or signal wires away from high-current cables like battery or starter wires.
Twisting pairs of signal wires can help fight EMI. Shielded cables are another good option if you’re worried about noise.
Ground everything properly. A clean, common ground keeps interference down and gives you stable readings.
Performing the Installation and Termination
Handling power, ground, and signal wires carefully is the difference between a reliable setup and one that’s always acting up. The right connectors and tools keep things clean and safe.
Making Power and Ground Connections
Identify the power wire—usually from the fuse box or ignition switch. Use the right gauge wire for your gauge’s needs. Always run power through a fuse to protect the circuit.
For ground, find a bare metal spot on your chassis. Use a mounting screw to secure the ground wire. That’ll help avoid electrical noise and weird gauge readings.
Butt splices or solder connections work for joining wires. Soldering is best, but if you can’t, insulate your splices with heat shrink tubing or electrical tape. A dab of dielectric grease helps keep moisture and corrosion away.
Connecting Signal Wires and Sending Units
Signal wires carry info from sending units—like temp sensors or fuel floats. Double-check the instructions so you don’t mix up wires.
Run signal wires separately from power wires to cut down on interference. Use solid connectors or solder joints for a good connection.
Attach the signal wire firmly to the sending unit. If there’s a terminal, use the right connector; if not, solder it directly. Insulate every exposed spot with tape or heat shrink. Loose or poorly connected wires will mess up your readings.
Ensuring Clean and Secure Connections
Good wiring’s all about clean, tight connections. Strip insulation gently so you don’t cut the strands. Use butt splices for joining wires, ring terminals for screw-down spots.
Cover any exposed metal with heat shrink tubing or electrical tape. Dielectric grease inside connectors keeps rust at bay.
Tie everything up with cable ties to stop wires from pulling or rubbing. Proper termination keeps your setup stable and safe from damage.
Testing the Installed Gauges
Once you’ve got everything connected, it’s time to test those gauges. Flip on your vehicle’s power and keep an eye on the gauge needle or digital readout.
See if the needle moves smoothly, or if the digital numbers hold steady. If things look weird—like the gauge jumps around or stays dead—double-check your power, ground, and signal wires.
Grab a multimeter and check for voltage at the power and ground terminals. If the readings look good but the gauge still isn’t cooperating, maybe the sending unit or wiring has a short or break somewhere.
Sort out any problems you find before you secure the wires and mount the gauges in the dashboard.
