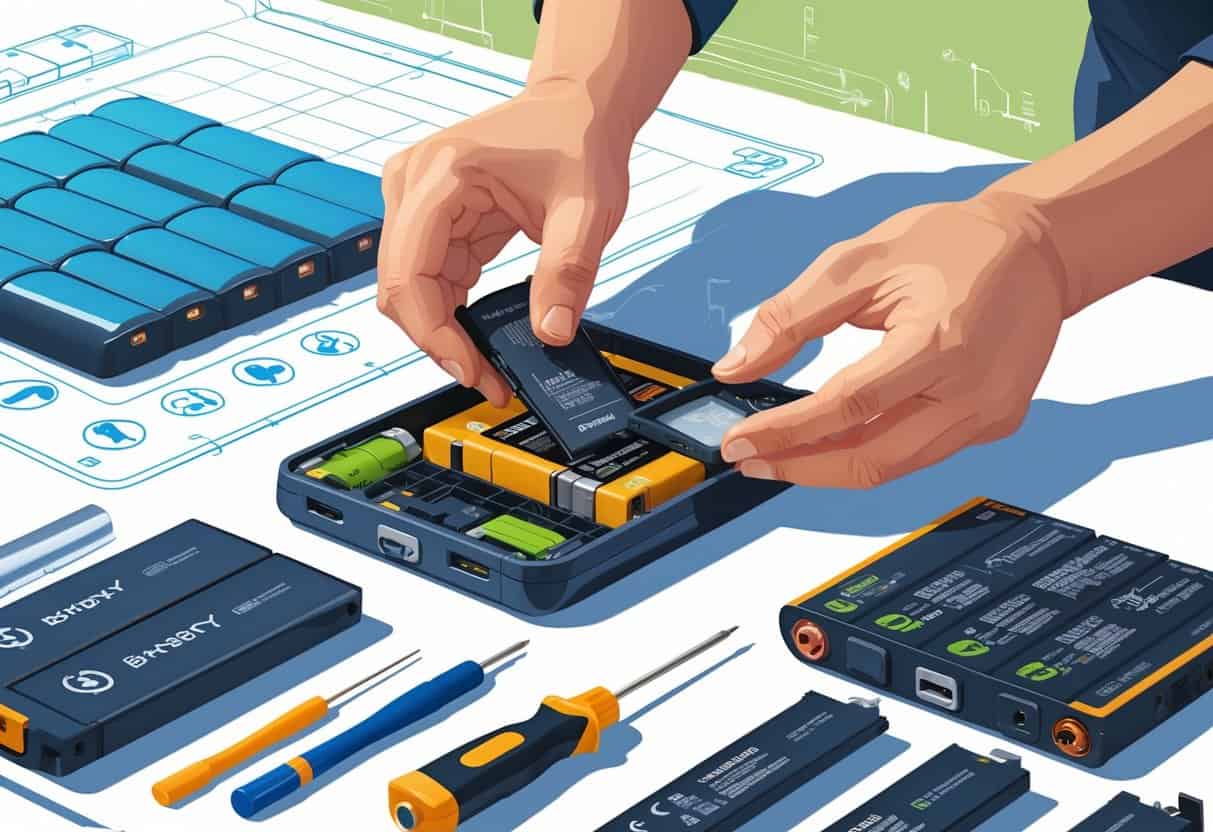
Thinking about swapping out your own battery? It’s not always as simple as unplugging one and plugging in another.
You’ll need the right tools, a bit of know-how about your battery system, and a careful hand with electrical parts. DIY battery swaps can save you money, but you’ve got to prep and really understand your specific battery and vehicle before diving in.
Some battery systems have special wiring or control units that need to be swapped too. That adds a layer of complexity, but it’s usually necessary.
Knowing exactly what to replace—and how to handle it—can help you avoid damage to your battery or vehicle.
Parts availability and compatibility can be a headache, honestly. Planning ahead to get the right parts and tools will make your life much easier.
Key Takeways
- Know your battery system before you start.
- Gather all tools and parts ahead of time.
- Safety and careful handling are non-negotiable.
Understanding DIY Battery Swaps
A DIY battery swap means you’re taking out a used battery pack from your electric vehicle or device and putting in a fully charged one.
This can be a lot faster than waiting for a battery to charge, but it comes with its own set of challenges.
You’ll want to understand the difference between swapping and traditional charging, and get familiar with the main parts you’ll be working with.
What Is a DIY Battery Swap?
Basically, you’re removing the depleted battery pack and installing a charged one yourself.
It’s like changing batteries in a remote, just on a much larger and trickier scale.
You do the swap by hand, not with any fancy automated station. This lets you skip long charging times, assuming you’ve got extra charged packs waiting.
But safety really matters here—these batteries are heavy and pack a lot of voltage.
Battery Swapping vs. Traditional Charging
With swapping, you’re exchanging the whole battery pack in minutes. Traditional charging means plugging in and waiting, sometimes for hours.
Swapping only works if you’ve got extra packs charged up and ready. Charging doesn’t need extras, but takes a lot more time.
You might even get a longer battery life by cycling through multiple packs instead of wearing out one.
Key Components: Batteries, Packs, and Swapping Tools
The battery pack is the main thing you’re swapping out. It stores all the energy your vehicle or device needs.
The pack has to fit just right and connect safely, or you’ll risk damage.
You’ll need tools—think insulated gloves, wrenches, maybe a special holder or frame. Some vehicles have quick-release systems, but you still need to be careful to avoid shorts or injuries.
Knowing the voltage, handling the wiring, and keeping things organized will make your swap go a lot smoother.
Preparing for a Battery Swap
Before you get started, you’ll need to figure out which battery is right, how to stay safe, how to deal with the weight, and what tools you’ll need.
These steps can make the difference between a quick swap and a frustrating mess.
Selecting the Right Battery Pack for Your Vehicle
Pick a battery pack that matches your car or RV model exactly—don’t just guess. Check the manual for type, voltage, and size.
Most EVs use lithium batteries, but the specs can be all over the place. Using the wrong battery can cause damage or weird system errors.
Look at the battery’s capacity (kWh or Ah) and voltage to make sure it lines up with what your vehicle needs.
Try to match your new battery as closely as possible to the old one for best performance.
Double-check compatibility with wiring and control systems. Some vehicles require you to swap out the controller or wiring harness if you’re changing battery types.
Safety Considerations and PPE
Always wear gloves and safety glasses—no exceptions. Acid spills and electric shocks are no joke.
Lithium batteries, especially, can be dangerous if you drop or puncture them.
Work somewhere with good airflow, just in case any gases escape from old or damaged batteries.
Keep a fire extinguisher nearby. Battery materials can catch fire, even if you think you’re being careful.
Disconnect the negative terminal (-) first, then the positive (+). When reconnecting, do it in the opposite order.
Understanding Battery Weight and Handling
These things are heavy—sometimes 100 to 600 pounds or more. Plan ahead for lifting and moving.
Use straps or get a friend to help. Make sure your workspace is clear and you’ve got a solid spot to set the battery down.
Don’t drop or bang the battery. That’s a quick way to cause leaks or shorts.
Move slow and steady to keep yourself and the battery safe.
Tool Checklist for Home Swapping
Here’s what you’ll want on hand:
- Wrenches or ratchets (usually 10mm or 13mm) for terminals and mounts
- Screwdrivers for covers or panels
- Battery carrier straps or lifting aids
- Gloves and safety glasses
- Multimeter for voltage checks
- Clean cloths for wiping terminals
Insulated tools are best to avoid shocks. Have a safe container ready for the old battery, and follow your local disposal rules.
Step-by-Step DIY Battery Swapping Process
Swapping a battery yourself means removing the old one, installing the new charged battery, and testing everything.
Take your time—each step needs attention and care.
Removing the Depleted Battery
First, make sure the car is off and the key’s out. That cuts the power and lowers your risk.
Find the battery compartment—it could be under the hood or tucked somewhere else.
Remove any covers or panels with the right tools.
Disconnect the negative (-) terminal first, then the positive (+). This helps prevent short circuits.
Lift the old battery out, keeping it upright and steady. They’re heavier than you think.
If there are straps or brackets, loosen them first. Don’t yank on cables or connectors.
Installing a Fully Charged Battery
Drop the new, charged battery into the same spot as the old one. Make sure it’s sitting flat and lined up with connectors.
Reconnect the positive (+) terminal first, then the negative (-). Tighten the clamps, but don’t go overboard.
Secure the battery with any straps or brackets you removed earlier.
Double-check that everything is tight and the battery isn’t moving around.
Put covers or panels back in place.
Testing and Verifying the Swap
Start the car and see if the new battery powers everything like it should.
Check dash lights and electronics for anything weird. If you see flickering or warnings, stop and check your connections.
If you’ve got a multimeter, check the voltage at the terminals. A healthy 12V battery should read about 12.6 volts or a bit higher with the car off.
If the car won’t start or you spot problems, check your work or call in a pro. Better safe than sorry.
Cost, Availability, and Future of Battery Swapping
Battery swapping is catching on, but it’s not everywhere yet. Where you live and what you drive can make a big difference.
The cost and how it affects your EV depend on infrastructure, your EV brand, and how swapping impacts battery life.
Accessing Swap Stations and Charging Points
Swap stations are mostly in certain cities or regions—China is way ahead here.
In a lot of places, you’ll still be using fast charging, since swap stations aren’t common yet.
Swap stations usually charge batteries during off-peak hours to save on electricity and help the grid.
You might find that swap stations aren’t practical for long trips if they’re not widely available.
Fast chargers are easier to find, but you’ll be waiting longer for a charge than you would for a swap—sometimes by a lot.
A swap can take about five minutes, but only if there’s a station nearby.
Impact on Purchase Price and Lifetime of EVs
Swapping can affect your EV’s price. Some brands split the battery cost from the car and offer leasing or swapping services.
This can lower your upfront cost since you’re not buying the battery outright.
Swapping can also help your battery last longer. Stations rotate and maintain batteries, so you’re less likely to get stuck with a worn-out pack.
But if your EV doesn’t support swapping, none of this applies.
The cost of swapping services varies a lot by provider and location, so check local prices before you count on it.
OEMs and Automotive Brand Support
Several automakers are dipping their toes into battery swapping, but honestly, support’s still pretty limited out there.
Take GM and Ford—they’re way more invested in fast charging networks. Kia and a few others seem curious, but so far, there’s no big swap program from them.
Some OEMs that do support swapping actually design their EVs so the battery can be pulled out easily and safely. It’s a nice touch, but you’ll want to double-check if your specific car model actually works with any swapping stations.
If you’re thinking about battery swapping, make sure your EV’s compatible and scope out where those stations even exist before getting your hopes up.
