How Much Compression Should a 5.3 Have: 5.3L Compression Test
It’s very simple to check the engine compression on your Chevrolet or GMC 5.0L V-8 engine.
A compression test is used to assess the health of your engine by measuring the pressure of air compressed by the piston rings against the cylinder head valves.
All eight cylinders of a healthy engine will respond similarly to the compression tester. An engine with internal issues (such as worn compression rings or cylinder head valve stem seals) may produce some or all cylinders with low or no compression.
This is a test that you can do (without having to bring your truck, van, or SUV) at the store to the shop, and we’ll show you how to perform both a dry and wet engine compression test as well as interpret the findings in this post.
5.3L Factory Spec Cylinder Pressure
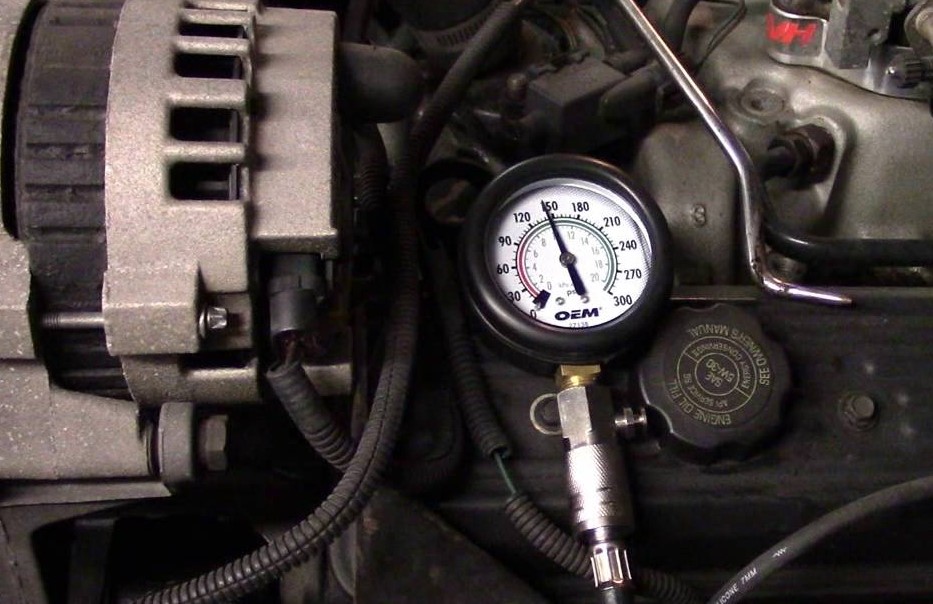
During the compression stroke, your car/engine’s standard ‘ideal’ cylinder pressure may have been set. If your vehicle was equipped with a factory/service manual, this value would be listed there; however, you should keep in mind that it will represent a theoretical pressure that you are unlikely to encounter during real-world testing.
Except in situations when the measured pressure differs significantly from the spec value, comparing each cylinder’s pressure to the others is a more significant factor in resolving compression problems.
If no factory value is available, you may estimate it by calculating your intake pressure x compression ratio – for example, a 2005 Silverado with a 5.3L V8 has a 9.9:1 compression ratio and an intake pressure of 17 psi can be anticipated to produce cylinder pressures of 170 psi or more.
This lesson is relevant to the following motor vehicles:
Chevrolet:
- Express (1500): 5.3L: 2003, 2004, 2005, 2006, 2007, 2008, 2009, 2010, 2011, 2012, 2013, 2014
- Express (2500): 4.8L, 5.3L, 6.0L: 2003, 2004, 2005, 2006, 2007, 2008, 2009, 2010, 2011, 2012, 2013, 2014, 2015, 2016
- Express (3500): 4.8L, 6.0L: 2003, 2004, 2005, 2006, 2007, 2008, 2009, 2010, 2011, 2012, 2013, 2014, 2015, 2016
GMC:
- Savana (1500): 5.3L: 2003, 2004, 2005, 2006, 2007, 2008, 2009, 2010, 2011, 2012, 2013, 2014
- Savana (2500): 4.8L, 5.3L, 6.0L: 2003, 2004, 2005, 2006, 2007, 2008, 2009, 2010, 2011, 2012, 2013, 2014, 2015, 2016
- Savana (3500): 4.8L, 6.0L: 2003, 2004, 2005, 2006, 2007, 2008, 2009, 2010, 2011, 2012, 2013, 2014, 2015, 2016
Symptoms Of Low Or No Engine Compression in 5.3L
An engine’s compression might be either too high or too low, although a few unusual situations do exist. The compression issue causes the engine not to start, or the compression problem allows the engine to start but with a misfire condition.
To be a little more precise, when the engine cylinders do not generate compression, the engine will not start. However, if only one cylinder has a deficiency/no compression, the engine will start but you’ll have a genuine misfire situation on your hands.
Specific symptoms that will occur in each scenario:
Engine Starts But Runs With A Misfire:
- The term “engine miss” is sometimes used to describe this problem.
- One cylinder’s excessively low compression is often the cause.
- The engine compression varies by more than 15% across all 4 cylinders.
- With misfire codes, the check engine light should be on:
- P0300 Random Cylinder Misfire.
- P0301 Cylinder #1 Misfire.
- P0302 Cylinder #2 Misfire.
- P0303 Cylinder #3 Misfire.
- P0304 Cylinder #4 Misfire.
- P0305 Cylinder #5 Misfire.
- P0306 Cylinder #6 Misfire.
- P0307 Cylinder #7 Misfire.
- P0308 Cylinder #8 Misfire.
- Bad gas mileage.
- With all four cylinders firing, this can be caused by several factors such as a mechanical problem or an electrical short.
- Engine pollutes more.
- You must have high engine compression to ensure that the air/fuel mixture burns correctly. This indicates that uncontrolled combustion occurs, resulting in exhaust unburned fuel. All of this raw fuel is sent into the exhaust if there is no cylinder compression.
The Engine Cranks But Won’t Start
- The engine starts up quickly.
- The high speed of cranking is quite evident.
- All four spark plugs are being struck by the ignition system.
- When the engine cranks but does not start, there is an airbag fault code that appears when you check with a scan tool (this is what we’ll address next).
- The fuel injectors spray a liquid.
- You can confirm this with a Noid Light test.
- You can also verify this, albeit indirectly, by checking to see whether the spark plugs are damp (fuel clogged).
- The fuel pump is operating and producing pressure.
- The most frequent reasons for lack of compression in four or more cylinders are:
- Blown head gasket.
- Broken timing belt.
- Engine threw a rod.
What Tools Do You Need?
A compression tester is the most crucial tool you’ll require. Because the spark plugs must be removed, you’ll need the following essential tools:
- Ratchet wrench.
- 5/8” spark plug Socket.
- Extensions for the ratchet wrench.
- Motor oil (for the ‘Wet’ compression test part).
- Spark plug wire puller.
If you’re looking for a compression tester but don’t want to pay full price, you can save money by purchasing it online.
How to choose Compression Tester
There are several different types of compression testers available, as well as a number of locations to buy them. We recommend:
- The Actron CP7827 Compression Tester Kit is the engine compression tester that I’ve always used. The only issue I have with this engine compression tester is that it does not come with a storage case.
- You may get an engine compression tester at any store, but you’ll pay more for it (especially at your local automobile parts shop). The links below will assist you in comparing prices. I believe that the above method is the superior approach to save money on a compression tester!
Dry Compression Test
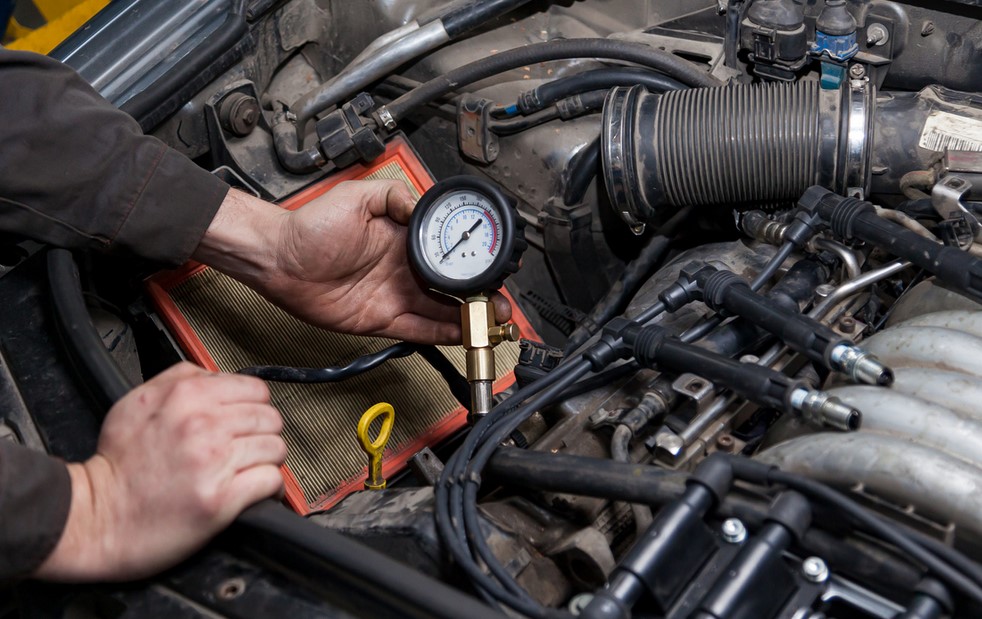
To obtain the most precise diagnosis of your engine’s health, perform the compression test on a slightly warmed up engine (not a running engine).
Unless you adjust the gap of your spark plug, it will read a higher than normal reading. The reason for this is because when the engine block and pistons and rings are heated, they expand.
This isn’t always feasible since your car may not start. You can still do the test and get very valuable information that will assist you in determining what’s wrong with it.
Before you begin, go through the entire procedure so that you are familiar with all of the stages. Always put safety first when working around a cranking engine since you’ll be handling an exposed machine.
The engine should not be hot when removing the spark plugs! Allow the engine to cool completely before removing the spark plugs if it has been running for a long time.
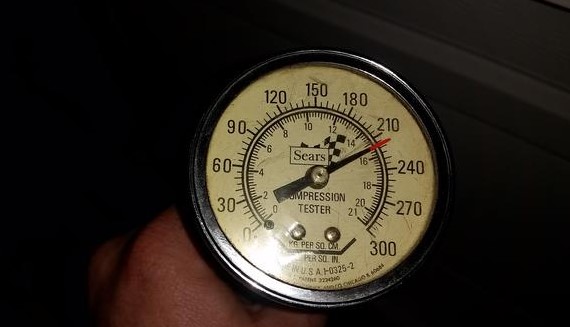
Let’s look at what your test results indicate:
Disable the fuel system.
You may simply accomplish this by removing the 15A fuse from the underhood fuse box labeled INJ 1. Alternatively, remove the fuel injectors from their electrical connections. Or, remove the fuel pump relay. This step is critical, so don’t forget to do it.
Disable the ignition system.
You can easily do this by first removing the fuse labeled INJ 1, which is a 15 A fuse in the underhood fuse block (this fuse feeds the fuel injectors and COP coils with power). Alternatively, disconnect the electrical connections of your COP coils. Because this step will prevent damage to the ignition coils, don’t forget it.
Remove all 8 spark plugs. Consideration must be given to the vehicle’s configuration when removing spark plugs. When taking them out, keep an eye on them and don’t drop any of them on the floor for fear of shattering the ceramic insulator on the spark plug, resulting in a misfire!
Install the compression tester. For the number 1 engine cylinder, thread the compression gauge into the spark plug hole. Only hand tighten the compression gauge! Don’t use a tool to tighten it or anything like that.
When ready, crank the engine. When you see the needle on the compression tester’s gauge moving up, that indicates it’s time to stop cranking. Stop cranking the engine when the needle on the gauge comes to a halt rising.
Write down the compression value. Record the compression reading on a piece of paper. Include the cylinder number, as well. Reprepare Steps 1 through 6 for the other cylinders in the sequence.
Interpret the results. Now that you’ve tested all of the cylinders and taken down all of your compression test readings, it’s time to make sense of the findings.
CASE 1: The compression value shot up. When the bottom end of your engine reaches a high temperature, it typically indicates that your piston compression rings are worn out, indicating a low-compression issue.
If you’re perplexed as to why the compression value went up, it’s because the engine oil you added (to this low-compression cylinder) assisted the piston compression rings in sealing the cylinder’s compressor. As a result, your compression test gauge displayed a higher value of compression.
CASE 2: The compression value stayed the same. When you remove the spark plugs, inspect them for wear. There isn’t much to say about it; if they’re worn, replace them. It looks like the problem is in the cylinder head valve components.
No, if you’re wondering why this implies that the cylinder head valves are worn, know that it’s because engine oil can’t assist in the seal of worn cylinder head valves. So, if the compression reading did not improve (as shown in TEST 1), it indicates that the issue is with one of the cylinder head valves on that dead cylinder.


